A BRIEF HISTORY AND SOME TIPS REGARDING SUBWAY TILE

Great ideas can sometimes be found in unexpected places.
Fun Fact: Play-Doh started out as a wallpaper cleaner.
Text messages were originally invented by cell phone companies to let their customers know about problems with their phone service.
And subway tile initially got its popularity in… wait for it… the SUBWAY!
Way back in the early 1900s, the subway system in New York City was a relatively new invention.
The underground tunnels were dark, gloomy, and felt like they needed something to brighten up the mood.
That is why architects George C. Heins and Christopher Grant La Farge chose subway tiles as a solution for this problem during those early days of the first New York Subway system, known as the Interborough Rapid Transit Company.
They designed the station walls with sleek, rectangular tiles that had very little space in-between.
The result was a resounding success!
These new tiles were fantastic because they were simple, economical, and their bright white surface reflected light.
The reflected light created the illusion that the walls appeared to have a more positive vibe.
So not only did this help to reduce the atmosphere of dreariness that plagued the underground stations at that time, but it also managed to do so in a way that was easy and relatively cheap to replicate.
But that wasn’t even the best part!
An even greater reason for the initial popularity of the subway tile was the fact that they were easy to clean.
Having an immensely high number of people shuffling through the subway meant that surface would get dirty very fast.
Subway tile made it possible to keep the stations looking nice without having to spend a whole lot of time, money, and effort to do so.
In fact, subway tile was held in such high regard that other major cities, such as London and Paris, eventually adapted it too.
But the story doesn’t stop there!
As with many successful ideas, it was only a matter of time before regular private citizens tried to use subway tile in their own homes.
After being exposed to the benefits and simplistic elegance of this tile during their use of public transportation, many people decided to try out variations on the original style for themselves.
Pretty soon subway tile began to adorn walls all over the United States and it continues to be popular to this very day.
All sorts of architectural styles from Queen Anne style homes to Bungalows came to embrace this aesthetic in the early 20th century.
Germ-obsessed people were especially appreciative of the subway tile’s ease of cleaning, while many others simply liked the minimalistic beauty of the simple pattern and pencil thin grout lines.
If there were ever to be some sort of tile hall of fame, subway tile would definitely be there.
So now that you know a bit about the origins and history of subway tile, what are some things to consider when trying to adapt this style in your own home?
In other words, if you wanted to have tile installers in the Los Angeles area do a project that involves subway tile, what should you tell them before getting started?
Allow me to give you some general tips and advice!
First things first. You’ll need to pick out your tile.
While things were pretty simple back in the early days of the New York subway system, there are now far more choices than ever to consider.
This can make figuring out what the right tile is seem intimidating.
But fear not!
While there are indeed many different variations, all you really have to do is pick a size, shape, and finish.
Just narrow your attention down to those 3 things and you’ll be fine.
I promise ;)
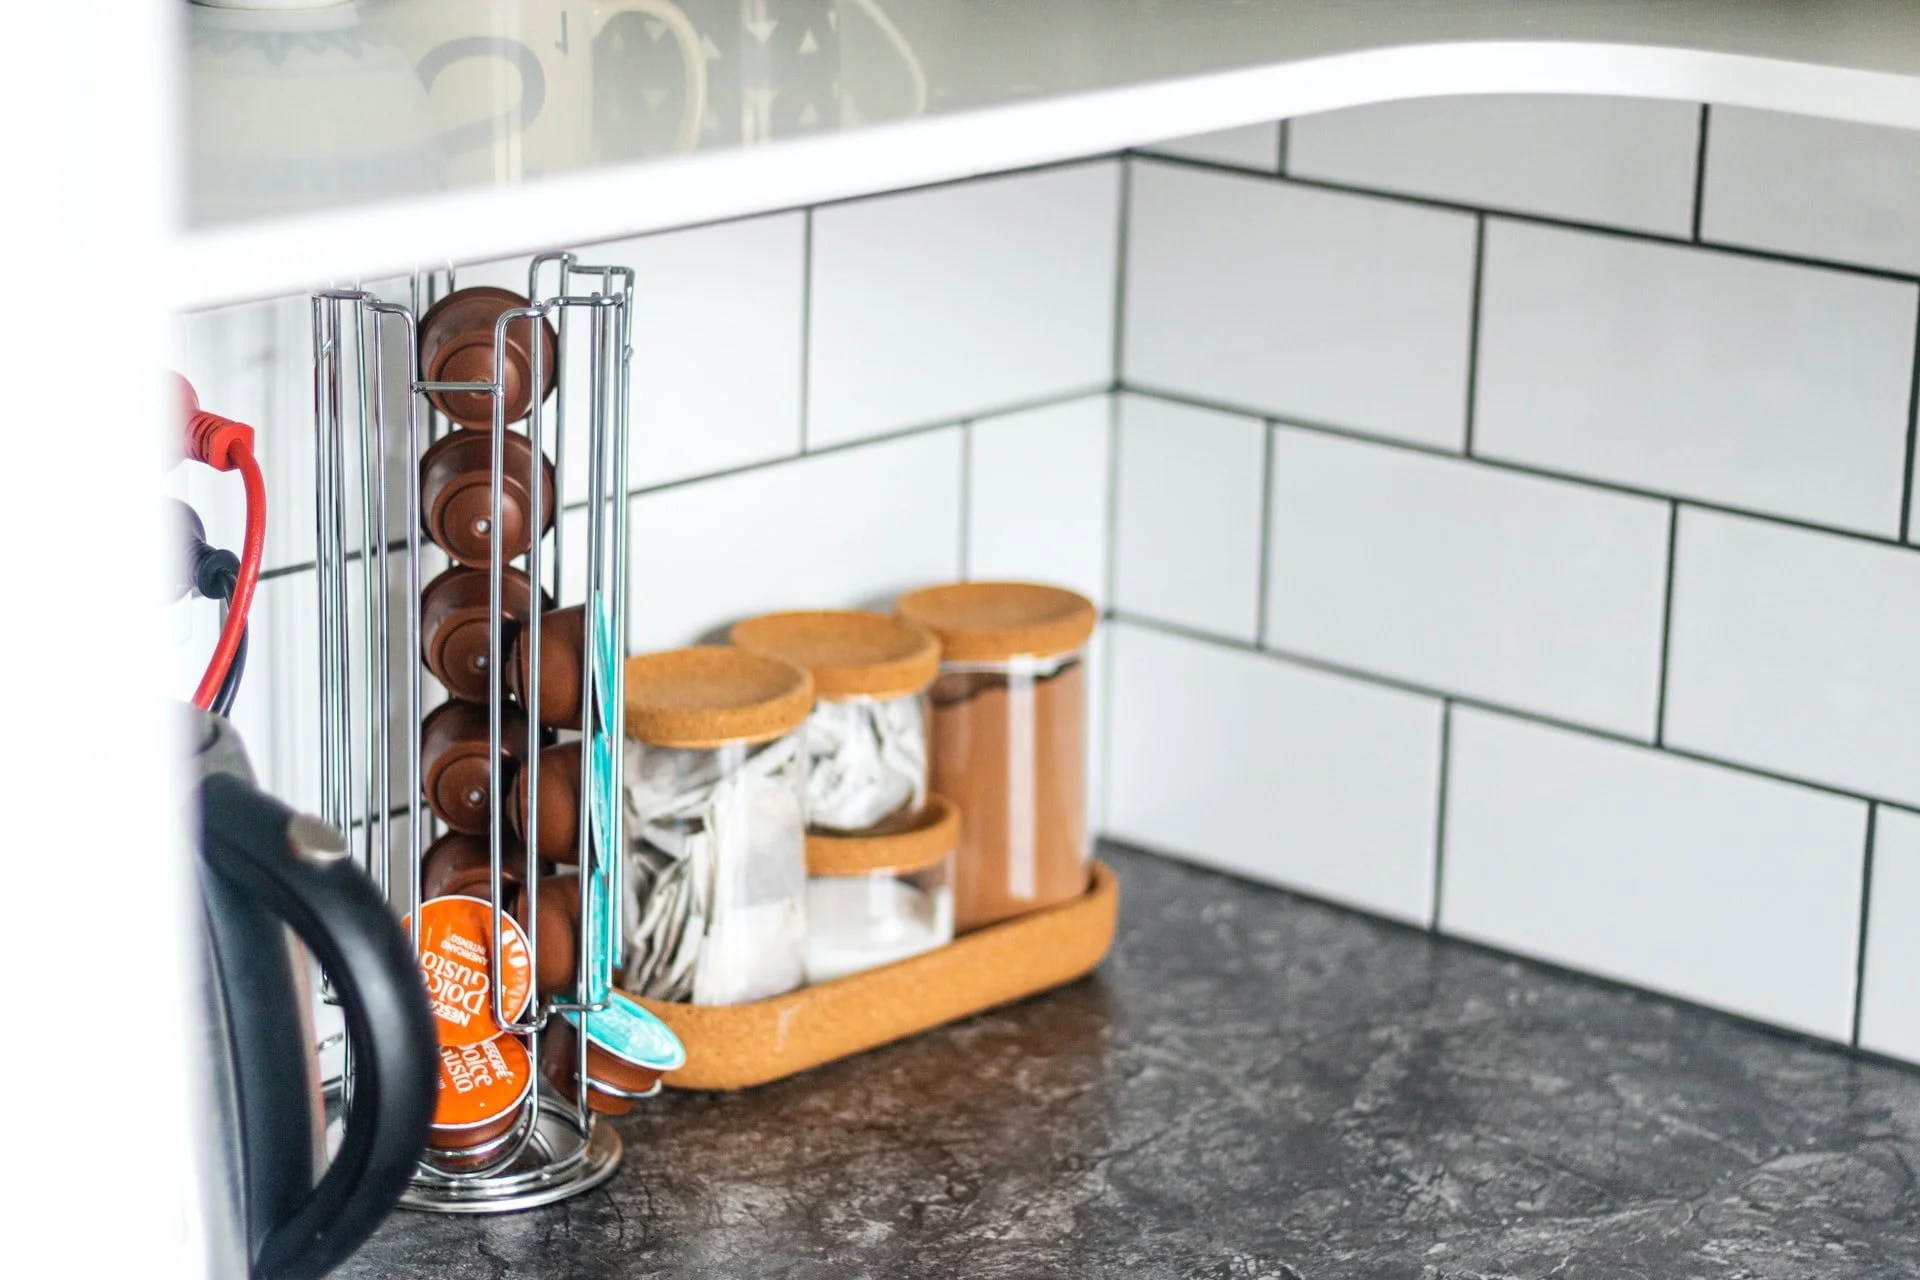
As far as size goes, the standard one that you need to get the “classic” subway tile look is 3x6 inches.
However, there is absolutely no need to feel limited by what was originally used in the past.
Many people choose tile that is 4x12 inches or even 4x24 inches for a more contemporary look.
These larger sizes tend to make your space appear bigger than it really is by using fewer grout joints.
And speaking of size, it is important to consider what shape of tile you want.
There are a number of choices, such as sculptural tiles, flat, beveled, uneven edge, and framed.
What it really comes down to is whether you want a flat or dimensional look.
The choice will depend on your personal needs and tastes, but it is important to keep in mind that the shape of your tile will determine the overall look.
And of course, as mentioned earlier, you’ll also have to choose a finish.
A solid color with an even finish would be the “classic” look.
But once again, there are other options worth considering.
You can choose to have a finish that’s matte or glossy, homemade or solid.
It all depends on what fits your situation and the vibe you’re going for.
The destiny of your tile is up to you!
And if you really have a hard time deciding, you can always just ask one of our professional tile installers here in Los Angeles for their opinion.
We’re always happy to offer our expert opinion should you need it :)
Anyways, now that we’ve discussed picking out the perfect size, shape, and finish, let’s talk about some specific subway tile designs and what generally looks best.
Perhaps the most “classic” look is the 3×6 inch Manhattan Snow White.
I already mentioned earlier that 3x6 inches is the way to get the “classic” subway tile look, but the Snow White color scheme is another part of the equation.
So for all of you purists out there, this is the combination that started it all.
As the name implies, this is the pattern and color scheme that the subway stations in Manhattan used back in their early days.
Feel free to opt for the more modern 4x12 inch variation to include additional sizes and colors.
To go for a slightly different look and embrace modern standards though, try using some unique patterns, textures, bevels, and splashes of color.
For example, if the traditional Snow White color scheme isn’t your thing, I recommend trying the Manhattan 4×16 Turquoise instead.
This variation on both color and size creates a pleasant feeling that still has a bit of classical influence, but with a subtle modern twist.
And if your heart is absolutely set on the 3x6 inch size, but you’re still determined to find an alternative to the bright white look, I recommend trying the 5th Avenue 3×6 inch Grey Glossy instead.
While this type of tile still retains the glossy splendor of its more traditional counterpart, the grey color will give your bathroom or kitchen backsplash a slightly darker and more refined vibe.
Of course, there’s also the issue of grout.
NEVER forget about grout!
It can be a real game-changer.
While grout doesn’t exactly take center stage in the same way that the tile itself does, it can still have an incredible impact on your tile and the space around it.
To put it simply you have three options: complementary, matching, or contrasting grout.
As with many things I’ve talked about, the best choice ultimately depends on what your goals are and what the final look that you desire is.
A neutral and complementary type of grout color will add subtle contrast without looking like the focal point.
Meanwhile, having grout that matches the tile color creates a more clean, classic, and seamless appearance.
On the other hand, opting for a contrasting color that accents the tile and overall design adds character.
Having such a bold, dramatic look can really show off the tile pattern if that is what you’d like people to focus on.
In the case of having a contrasting color, the grout feels like is a part of the design rather than just the backdrop.
But no matter what you ultimately end up going with, the fact that you’re using subway tile will ensure that everything looks great.
Subway tile is a winning choice in and of itself!
Variation on this type of tile continues to be a design standard regardless of the style or aesthetic.
So come on down to our tile store in Los Angeles and see all the wonderful choices we have to offer for yourself. We also offer custom mosaic art and wall art.
Or just call a qualified tile contractor directly.
We’d love to talk to you!